
 Francesca Bingley

We asked him if he would write a post for us detailing how to shape a board in a few easy steps. He laughed at the suggestion that it could be done in a few easy steps!!! That said he has give us a few tips below in this post. Enjoy....
1. Choose your surfboard shape.
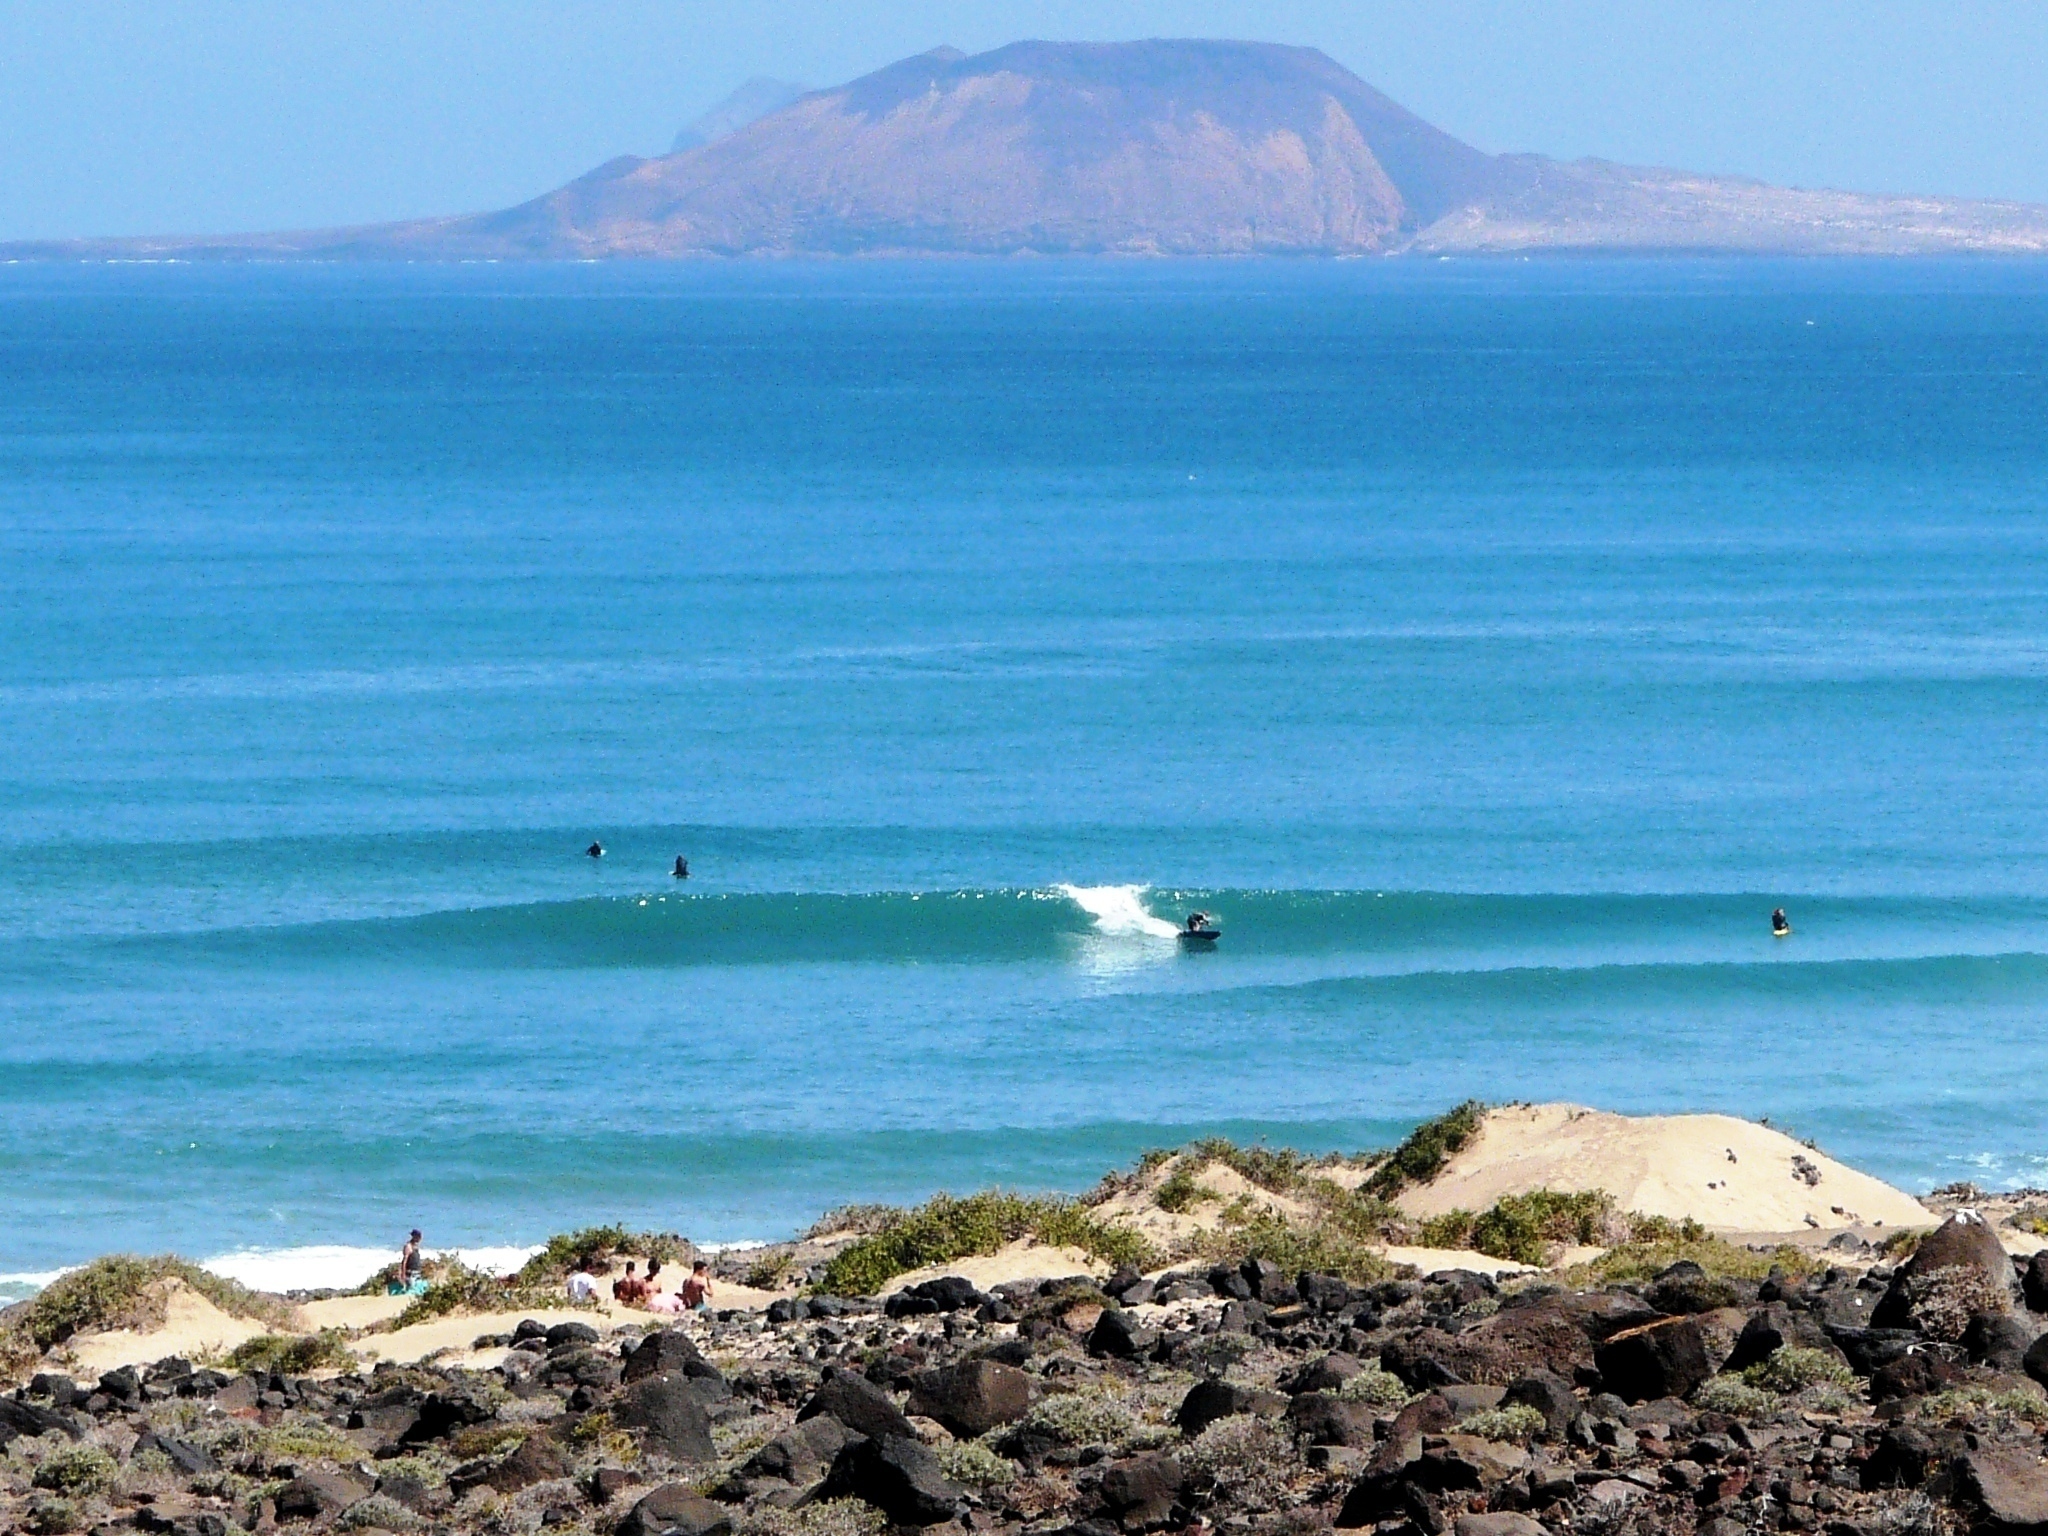
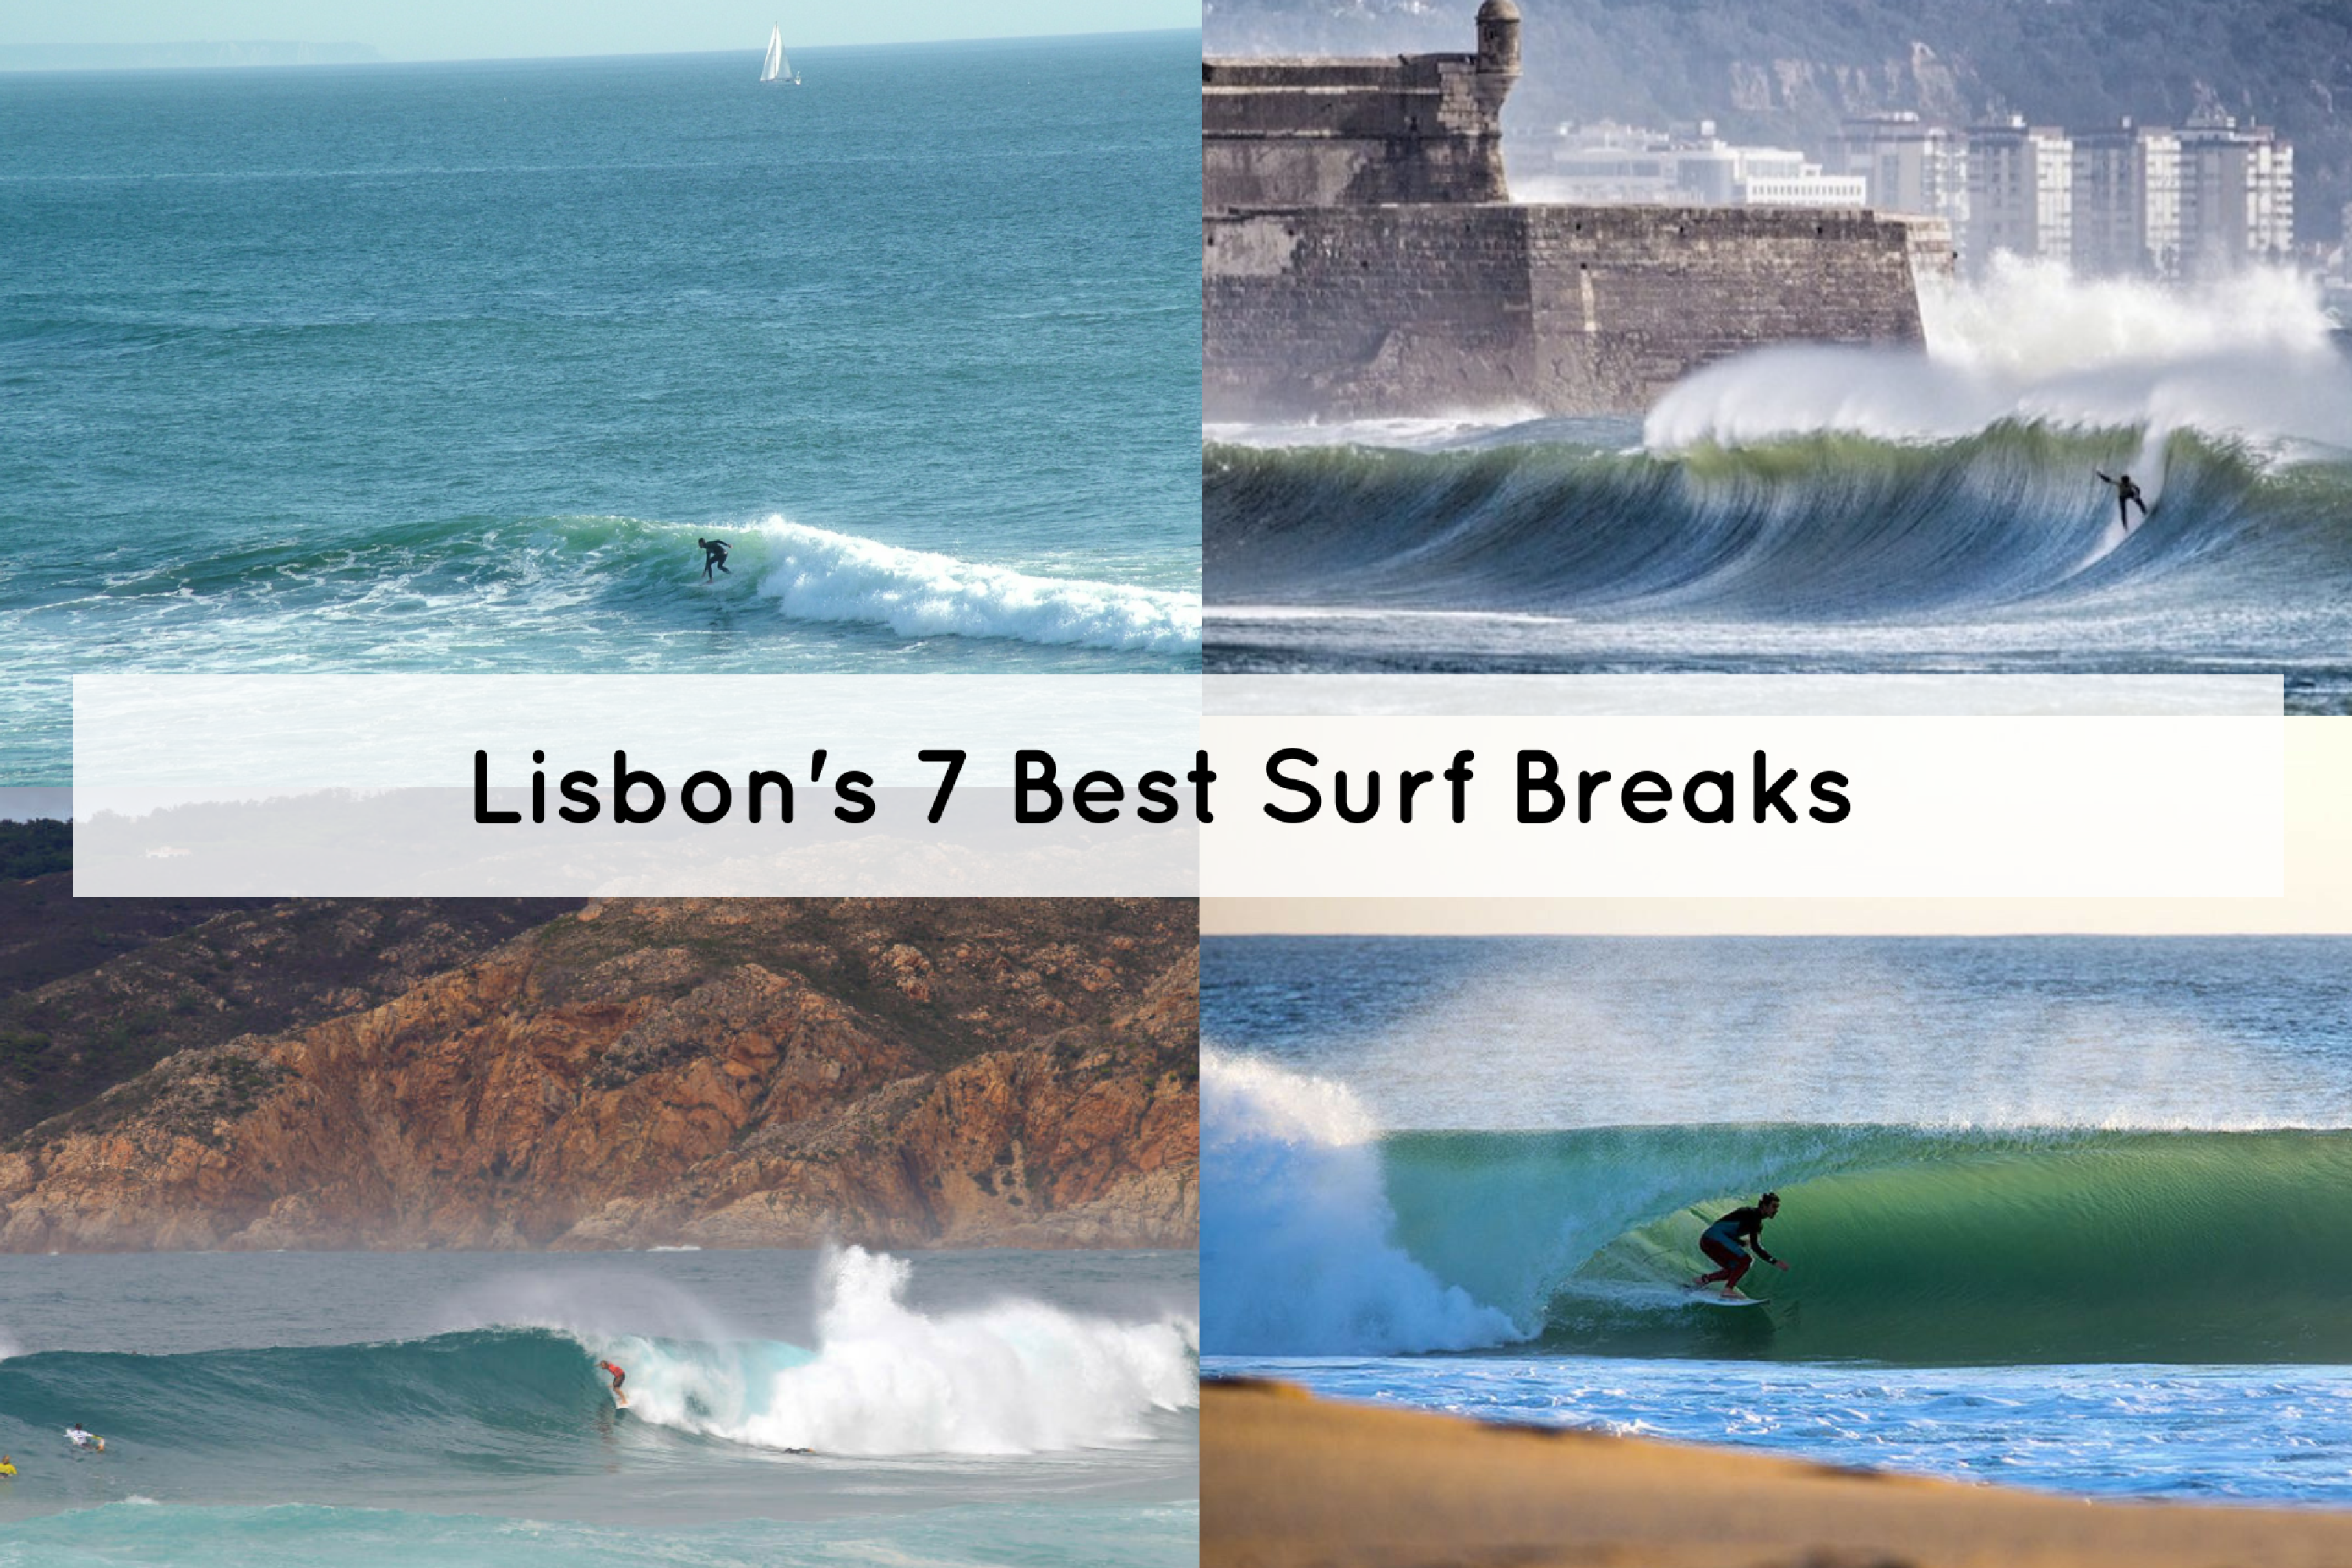
There are many different types of boards out there but the 'main' types of board in Irish waters at the moment are the shortboard, longboard, or fish. It all depends on what kind of waves you surf, and what kind of surf board you need to use on different waves

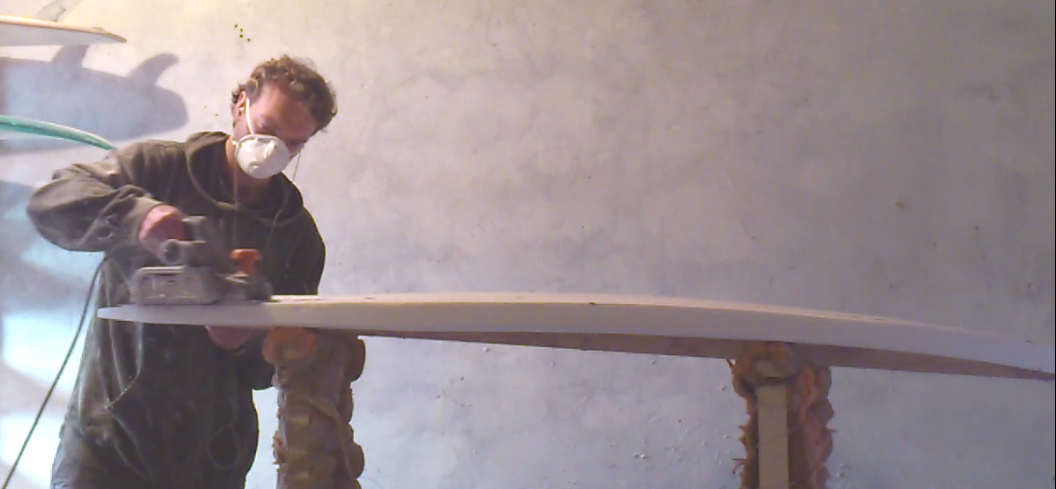
2. Cut the outline, rocker and rails.
Once you know what kind of board you want to shape, get a blank and cut the outline, rocker and rails into it. All three of these aspects are important as each other, so the more detail/care you put into them, the better the shape will be.
- The outline speaks for itself, it's how the shape looks from a birds eye view.
- The rocker is the 'concave' in the board, how much it bends at the nose and tail. The extent of the rocker will determine the type of wave you want to surf and how you surf it.
- The rails are very important for speed and turning. A sharp rail from tail to midsection will make for very quick turns and lead to 'power surfing'. This is vice-versa for 'boxy' rails.
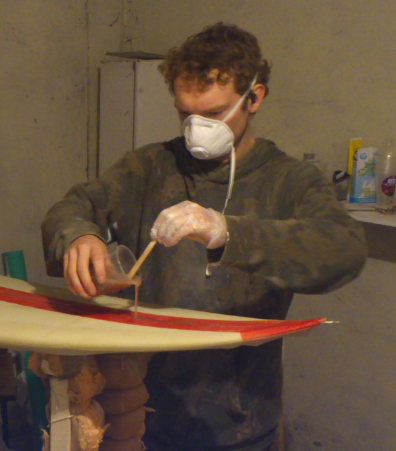
3. Laminate the board
Once you're done shaping your board, its time to laminate it. Its a good idea, before you do so, to mark your fin positions and do the artwork for the board (you can do the artwork once the lamination has been done, but it doesn't blend as easily or look anywhere near as good).
For shortboards and fishes, you typically use 2x4oz cloth on the deck and 1x4oz cloth on the bottom. For longboards, you can either use a 4 and 6oz cloth, or 2x6oz on the deck, and 1x6oz cloth on the bottom.
Once you've laminated both sides and sanded, you can apply the 'hot coat' and sand again.
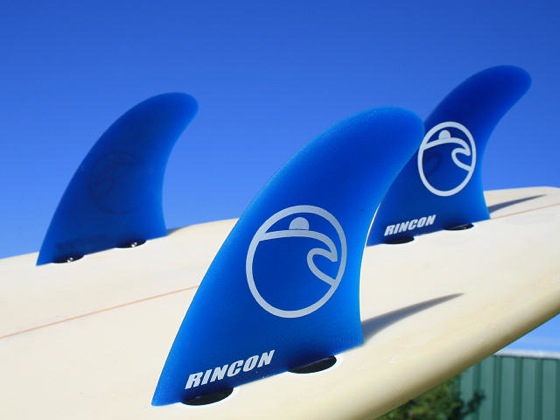
4. Insert fins and leash plug
Once the laminate coats are dry and sanded down, you need to select your fin types and install the fin boxes. The most common fin plugs used are fcs plugs. You've seen them everywhere, two circular black plugs on each fin. You can also use 'future' fin boxes and rotatable fin boxes, it depends on the experience you want, and durability of the fin box.
5. GO SURF YOU CREATION!

This article was added by Nicky Kelly